Migrating Push Notification Providers & Preventing Service Worker Conflicts: The Single Provider Rule
📁 Getting Started
🕐 Updated 1 hour ago
 HyperPush X Docs
When deploying web push notifications on your website or web application, one foundational technical rule governs the entire browser ecosystem: a domain or website must only run one active Web Push Notification provider at any given time.
If you are migrating to HyperPush X from another provider (such as OneSignal, PushEngage, Webpushr, WonderPush, Firebase Cloud Messaging, or a legacy push plugin), you must completely remove the previous provider and purge all caching layers before installing HyperPush X. When you follow this clean transition protocol, HyperPush X operates with 100% reliability, zero browser registration conflicts, and maximum push deliverability.
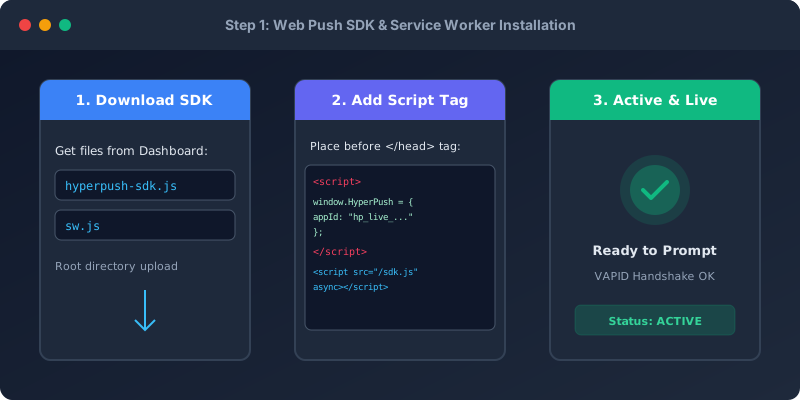
Web push notifications do not function like standard third-party tracking pixels (such as Google Analytics or Facebook Pixel), which can run alongside each other in parallel. Web push notifications rely on three core browser-level primitives defined by the W3C and IETF standards:
navigator.serviceWorker): A specialized background JavaScript worker running independently of your web page.registration.pushManager): The browser interface that registers cryptographic push subscriptions with native vendor push servers (Google FCM for Chrome, Apple APNs for Safari, and Mozilla Autopush for Firefox).Because these standards operate at the browser root origin level, running two push notification providers simultaneously causes severe technical collisions:
| Technical Collision | What Happens Behind the Scenes | User & Business Impact |
|---|---|---|
| Service Worker Scope Hijacking | Both providers register a service worker on the root scope (/). The newest script overwrites or clobbers the previous worker. |
Random push drop-offs; notifications fail to wake the background thread. |
| VAPID Public Key Mismatch | The browser's active push subscription was encrypted with Provider A's keys. HyperPush X sends with Provider B's keys. | Browser push gateways return 401 Unauthorized or 403 Forbidden; alerts are never delivered. |
| Double Permission Opt-in Clashes | Two distinct SDK scripts trigger competing opt-in modals or native prompt dialogs at the same time. | Confused visitors decline permissions; browsers trigger automated spam suppression. |
| Push Event Route Interception | When a notification payload arrives, the browser passes the event to whichever service worker is registered. If the old worker intercepts it, it lacks the handler code to display the HyperPush X message. | Silent push delivery failure with zero error logs in your console. |
| Client Memory & Battery Overhead | Multiple background sync processes poll, log, and negotiate network connections simultaneously. | Measurable page lag and degraded mobile device battery life for your visitors. |
[!IMPORTANT] Summary Rule: Never run two push notification providers concurrently on the same website. Always decommission the old provider, purge all cache tiers, and then activate HyperPush X for a clean, conflict-free integration.
Follow this battle-tested 4-step checklist to switch from any legacy push provider to HyperPush X with zero subscriber loss and zero technical errors:
┌─────────────────────────────────┐
│ Step 1: Decommission Old Vendor │ ──► Remove legacy SDK script tags, uninstall plugins & delete old SW files.
└─────────────────────────────────┘
                 │
                 ▼
┌─────────────────────────────────┐
│  Step 2: Flush All 3 Cache Tiers │ ──► Clear CMS / Server Cache, CDN Edge Cache, and Browser Storage.
└─────────────────────────────────┘
                 │
                 ▼
┌─────────────────────────────────┐
│ Step 3: Install HyperPush X Clean│ ──► Deploy root sw.js & inject the optimized HyperPush X snippet.
└─────────────────────────────────┘
                 │
                 ▼
┌─────────────────────────────────┐
│ Step 4: Verify in DevTools Console│ ──► Inspect Application > Service Workers to confirm active 200 OK status.
└─────────────────────────────────┘
You must completely eliminate any remnants of your previous push provider's client-side code and server-side files:
header.php, your Theme Customizer (Additional JavaScript/HTML), or code injection plugins (like WPCode, Insert Headers and Footers) and remove any manually pasted SDK code snippets referencing the old vendor.index.html, app.blade.php, layout.tsx, or header.php).<script> tags referencing the old vendor's CDN or initialization code:
<!-- ❌ REMOVE OLD VENDOR SNIPPETS LIKE THESE -->
<!-- <script src="https://cdn.onesignal.com/sdks/web/v16/OneSignalSDK.page.js" defer></script> -->
<!-- <script src="https://clientcdn.pushengage.com/core/..." async></script> -->
window.OneSignalDeferred, PushEngage.push(), etc.).Connect to your web hosting via FTP, SFTP, SSH, or cPanel File Manager and check your public web root folder (e.g. public_html/, public/, or www/). Delete any legacy service worker files left behind by previous vendors:
OneSignalSDKWorker.jsOneSignalSDKUpdaterWorker.jspushengage-sw.jswebpushr-sw.jsfirebase-messaging-sw.jssw.js or service-worker.js files[!WARNING] If an old
OneSignalSDKWorker.jsor legacysw.jsfile remains in your public root, incoming push traffic or cached browsers might continue invoking the outdated worker, causing delivery failure. Always delete obsolete service worker files.
Service Workers and JavaScript files are heavily cached by browsers, CDN edge nodes, and server-side caching engines. Failing to clear cache is the #1 cause of lingering conflicts when migrating providers.
You must clear all three layers:
If your website uses a WordPress caching plugin or server-level page caching, purge it immediately so the server stops serving pages containing the old push script:
CDNs store cached copies of your web pages and service workers across hundreds of edge locations globally:
/* or specifically for /sw.js and all HTML pages.[!TIP] Cloudflare Edge Tip: In Cloudflare, ensure your
/sw.jsfile has an Edge Cache TTL of 0 seconds or a Cache Rule setting Bypass Cache for*/sw.js. Service workers should always be served fresh directly from your origin server withCache-Control: no-cache, no-store, must-revalidate.
When testing on your own computer, your personal browser will still have the old service worker active in memory until you unregister it:
F12 (or Cmd + Option + I on Mac) to open Developer Tools.Ctrl + F5 on Windows or Cmd + Shift + R on Mac).Now that the old provider is removed and all caches are clear, install HyperPush X:
sw.js (The root background service worker).sdk.js (The high-speed opt-in and telemetry client).sw.js directly to the root public directory of your website so it is accessible at:
https://yourdomain.com/sw.js<head> tags:
<!-- HyperPush X Instant Push SDK -->
<script src="https://hyperpushx.com/sdk.js"
        data-site-id="YOUR_SITE_KEY"
        defer></script>
Site Key from your dashboard, and click Save Settings. The plugin automatically handles the service worker and opt-in prompts natively.Verify that HyperPush X has cleanly claimed the service worker scope:
F12) > Application > Service Workers.https://yourdomain.com/sw.js.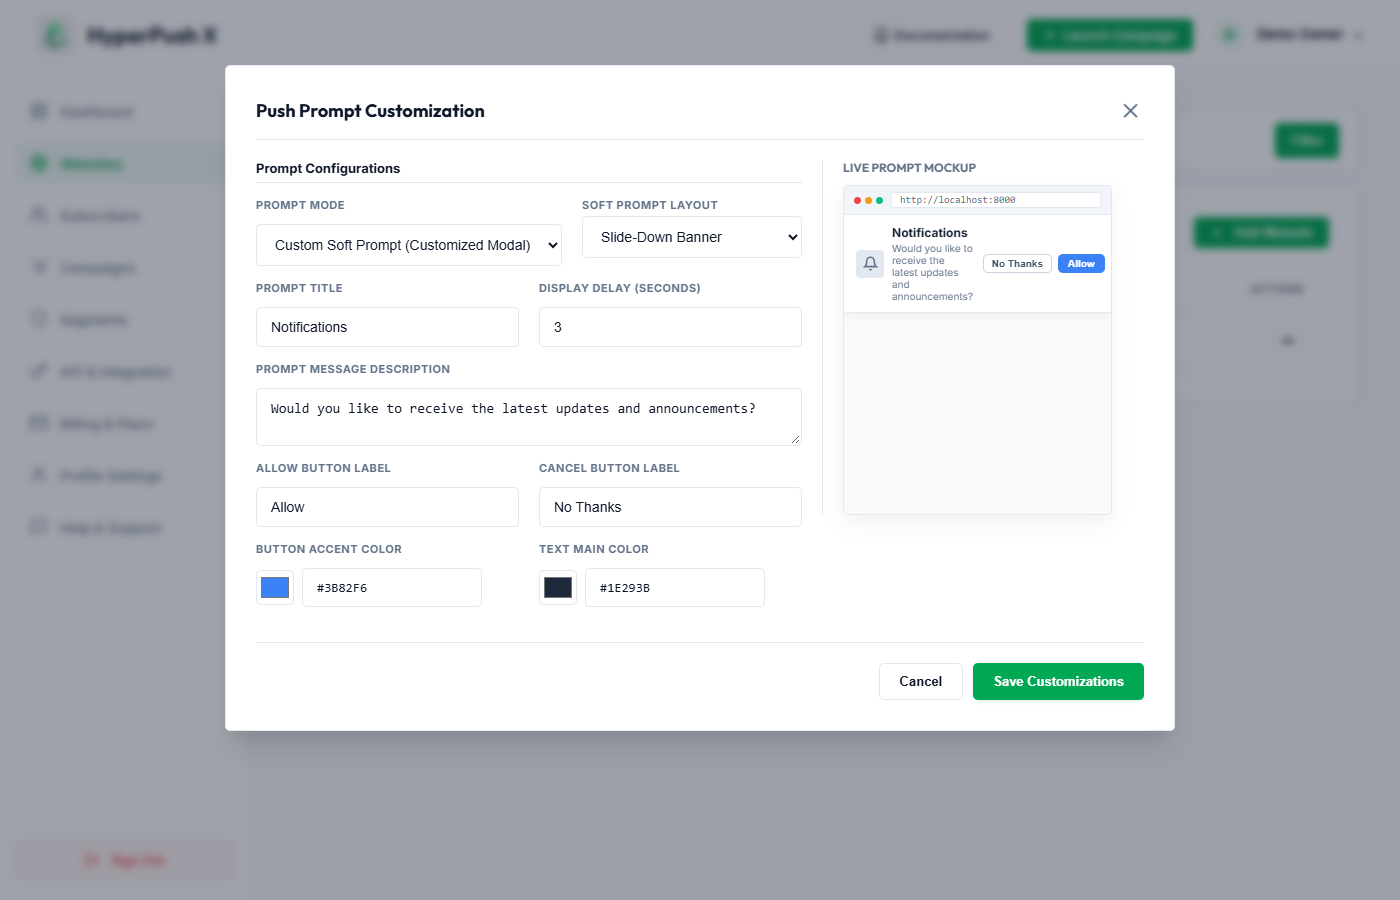
A common question website owners ask is: “If I remove my old provider, what happens to my subscribers?”
Here is how browser push standards handle subscriber transitions:
granted):https://yourdomain.com), not to a specific vendor. Even after removing the old vendor, the browser still remembers that your domain has permission to show notifications.granted. It immediately and silently generates a fresh VAPID subscription token for HyperPush X without prompting the visitor with any popups or permission dialogs.If you encounter unexpected behavior during or after a migration, use this matrix to resolve it in seconds:
| Symptom / Error Message | Root Cause | Instant Resolution |
|---|---|---|
A bad HTTP response code (404) was received when fetching the script |
sw.js is missing from the public root directory or blocked by server rewrite rules. |
Upload sw.js to the exact public root folder. Confirm you can visit https://yourdomain.com/sw.js directly in your browser. |
| Old vendor's prompt continues to appear | CDN (Cloudflare) or WordPress page cache is still serving cached HTML containing the old script snippet. | Run a Purge Everything in Cloudflare and clear your WordPress caching plugin (WP Rocket / LiteSpeed). |
DOMException: Registration failed - duplicate scope |
An old service worker script remains active on the same scope (/). |
Unregister the old service worker in DevTools (Application > Service Workers) and ensure old vendor worker files are deleted from the server. |
| Push sent from HyperPush X dashboard shows "Delivered" but not received | Browser is closed on unsupported platform or Windows/Mac native "Do Not Disturb / Focus Mode" is active. | Check your operating system Notification Settings. Ensure Chrome / Safari / Edge is allowed to display banners and Focus Assist is off. |
MIME type error: Script has unsupported MIME type ('text/html') |
Server returns a 404 error page (HTML) instead of the JavaScript file when loading sw.js. |
Check Nginx / Apache rewrite rules. Ensure .js files in the root are not redirected to WordPress index.php. |
No. Web browsers enforce a single root service worker scope per domain. If two push providers run concurrently, their service workers overwrite each other, encryption keys clash, and notification delivery fails. You must only run one push provider per domain.
If the old plugin is not deactivated and deleted, its scripts will continue loading alongside HyperPush X. Both services will attempt to register different service workers and listen for push events, causing subscriber registration failures, VAPID key mismatches, and failed campaign deliveries.
CDNs like Cloudflare and caching plugins like WP Rocket cache HTML pages and JavaScript files. If caches are not purged, visitors will continue downloading the old provider's tracking script and cached service workers, preventing HyperPush X from activating properly.
No. Browser notification permissions are permanently bound to your website domain origin (https://yourdomain.com), not the vendor. When existing subscribers return to your site, HyperPush X seamlessly registers them with your new account without displaying any repetitive permission prompts.
Open Google Chrome Developer Tools (F12), go to the Application tab, and select Service Workers. You should only see a single active worker pointing to https://yourdomain.com/sw.js. If you see workers from OneSignal, PushEngage, or other vendors, unregister them and delete their files from your server root.
Migration begins immediately upon page load. As soon as a returning subscriber visits any page on your website, HyperPush X detects the existing permission and registers the subscriber within milliseconds in the background.
 Notification Inbox
3
Notification Inbox
3